Hi, makers, due to the demand of improvement of interactive method of uArm and easier for control, so we made an attempt to use Scratch, a graphical programming tool, to control uArm.
Scratch graphical programming applies to teenagers, which makes the experience of programming as simple and interesting as building the Lego toys.
Here is what we did:


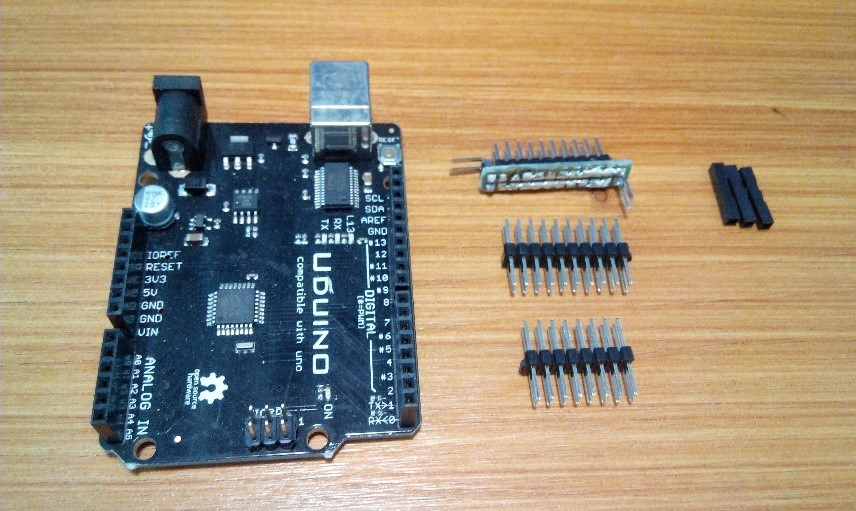
Step 1: Item lists
1.uArm metal version
2.Arduino uno
3.pins
4.Tweezers
5.Power switch board
6.Headers and Jumpers
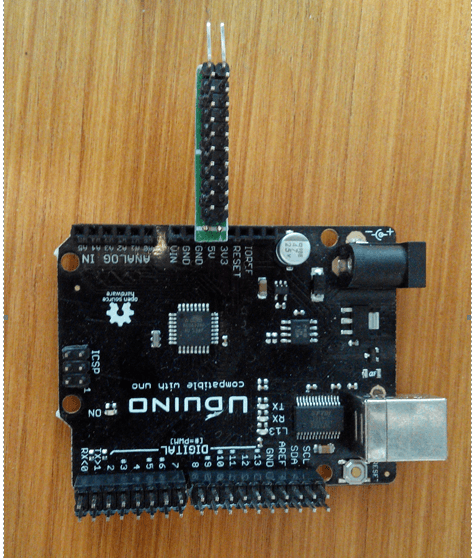
Step 2: transform the uDuino
1.Unplug the line between the uArm and its main microcontroller and use the Arduino uno or uDuino as the main board instead.
2.Connect the Power switch board to the IO port and VCC and ground.
3.Add headers to the jumper of servos by using tweezers
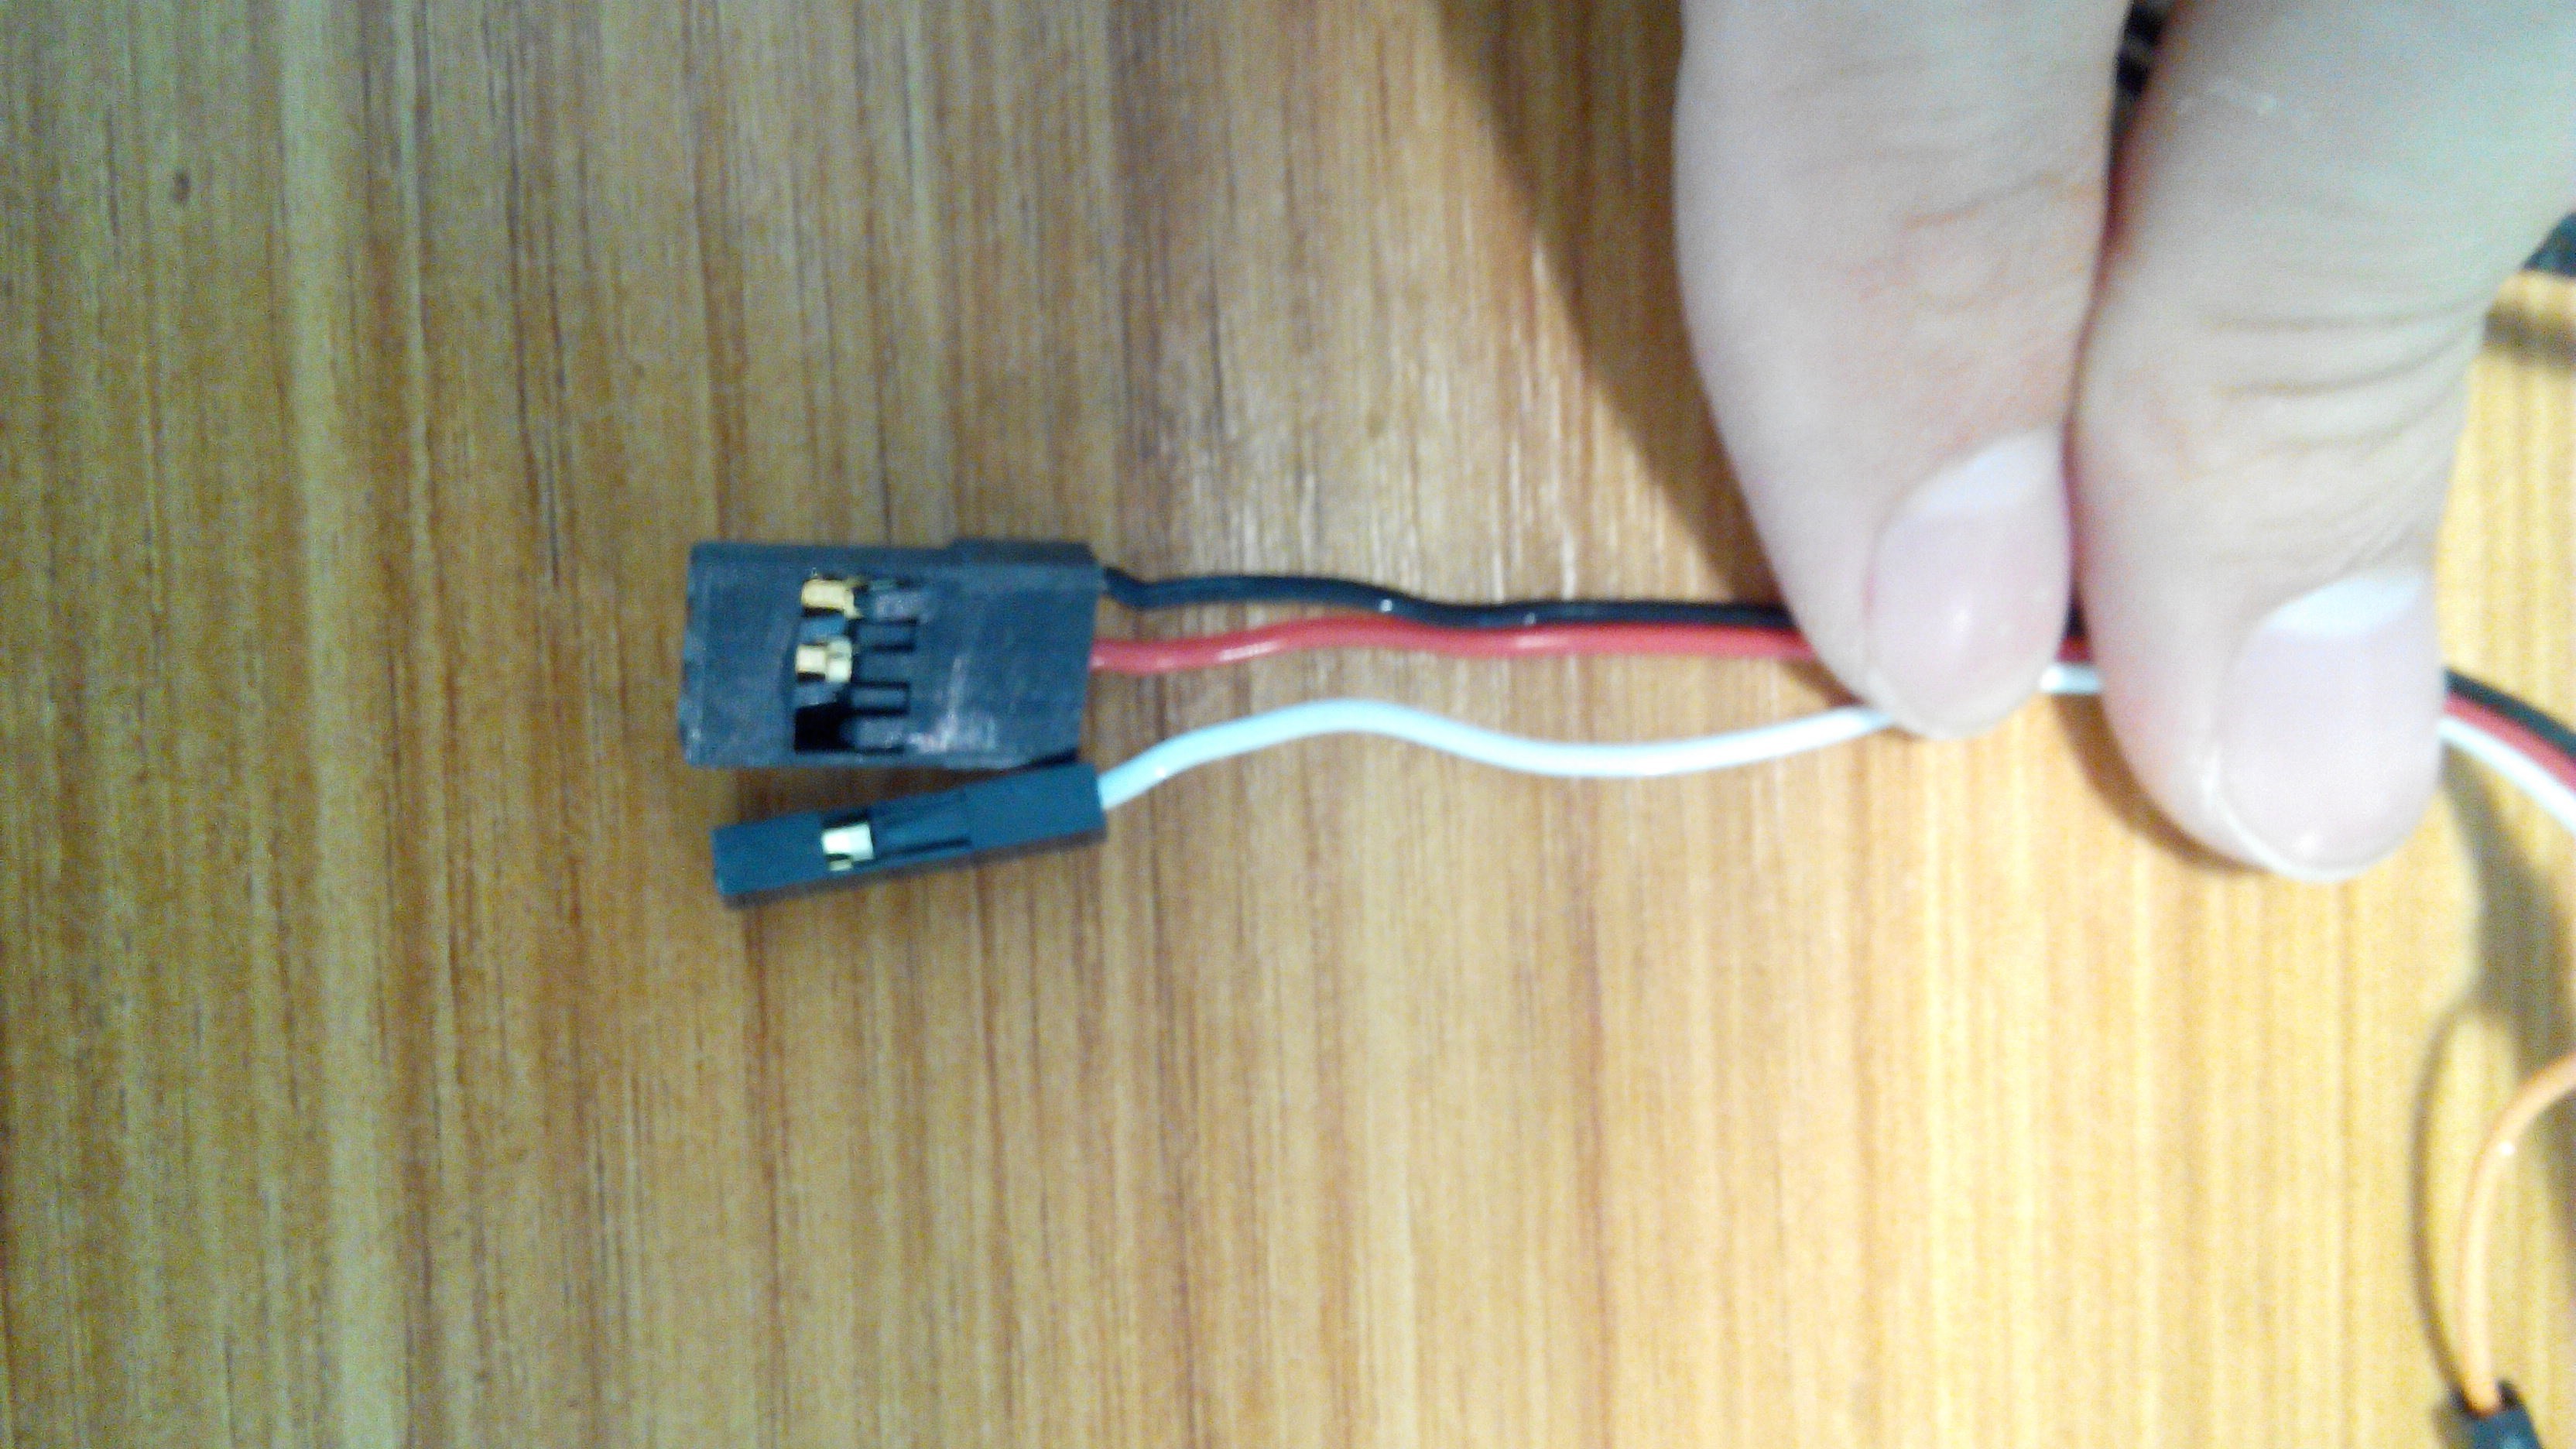
4.Pull out the two wires of the pump by tweezers. (The first and the second wire are VCC and ground)
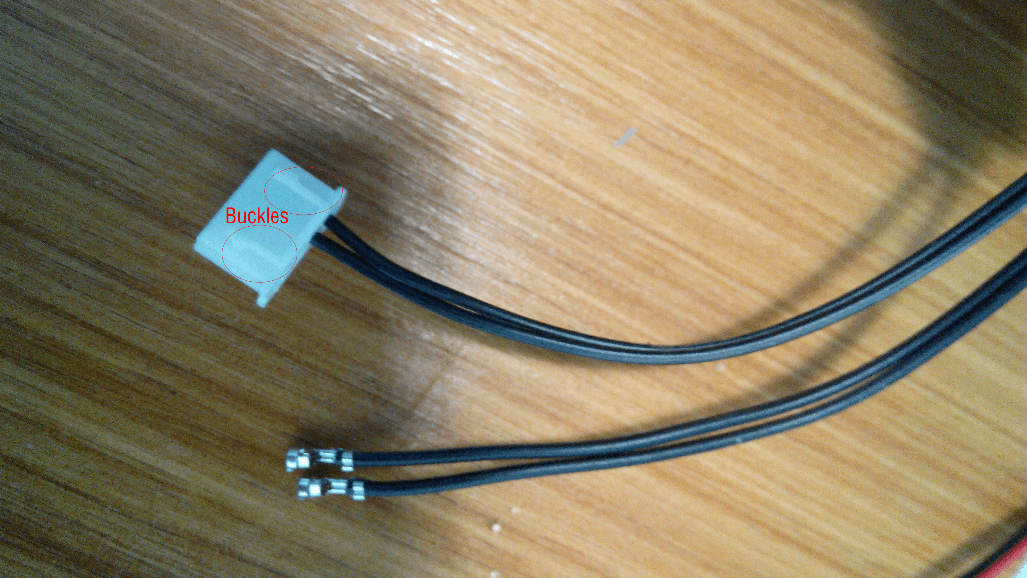
5.Plug wires into power switch board (The red wire of motor is positive. The second wire of air pump is positive.)
6.Plug signal wires of three motors to the Digital IO 4/7/8 pins on the Arduino uno. (Facing the tail of uArm, left/middle/right three motors are respectively corresponding to IO 4/7/8 port.)
7.Plug signal wires of air pump to the Digital IO 12/14 port on the Arduino uno. (The order of 2 lines is no requirement.)
Step 3:Build Software Environment
Download the Arduino Editor: https://www.arduino.cc/en/Main/Software
Download the software S4A: http://s4a.cat/, and install on PC.
Download the Arduino uno Firmware code: http://vps34736.ovh.net/S4A/S4AFirmware16.ino
Download the Arduino uno Firmware to the Arduino Core board.
Download and Install

Installing S4A requires you to install software both in your PC and your Arduino board. Here you’ll find the detailed steps to get it up and running.
Step 4: Operating Instructions
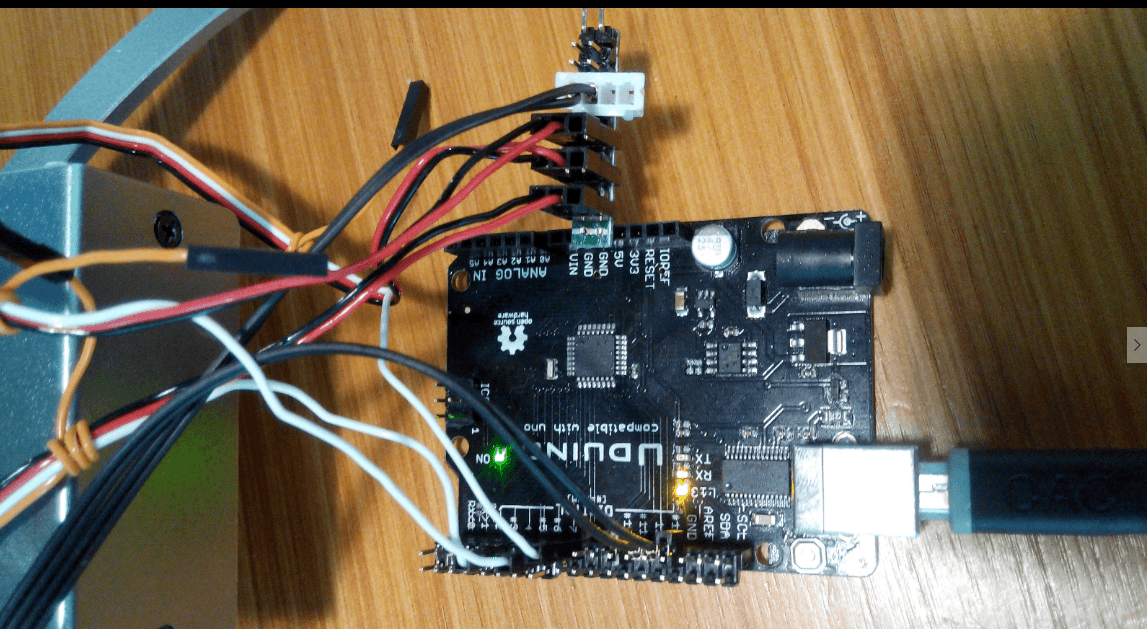
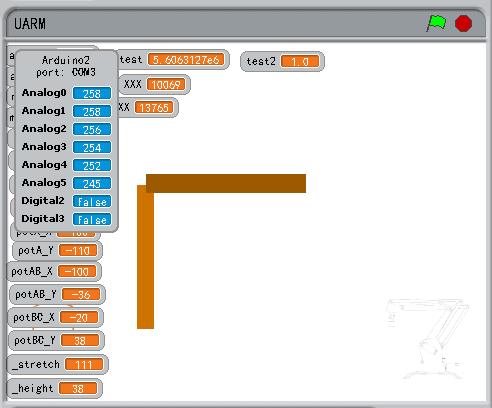
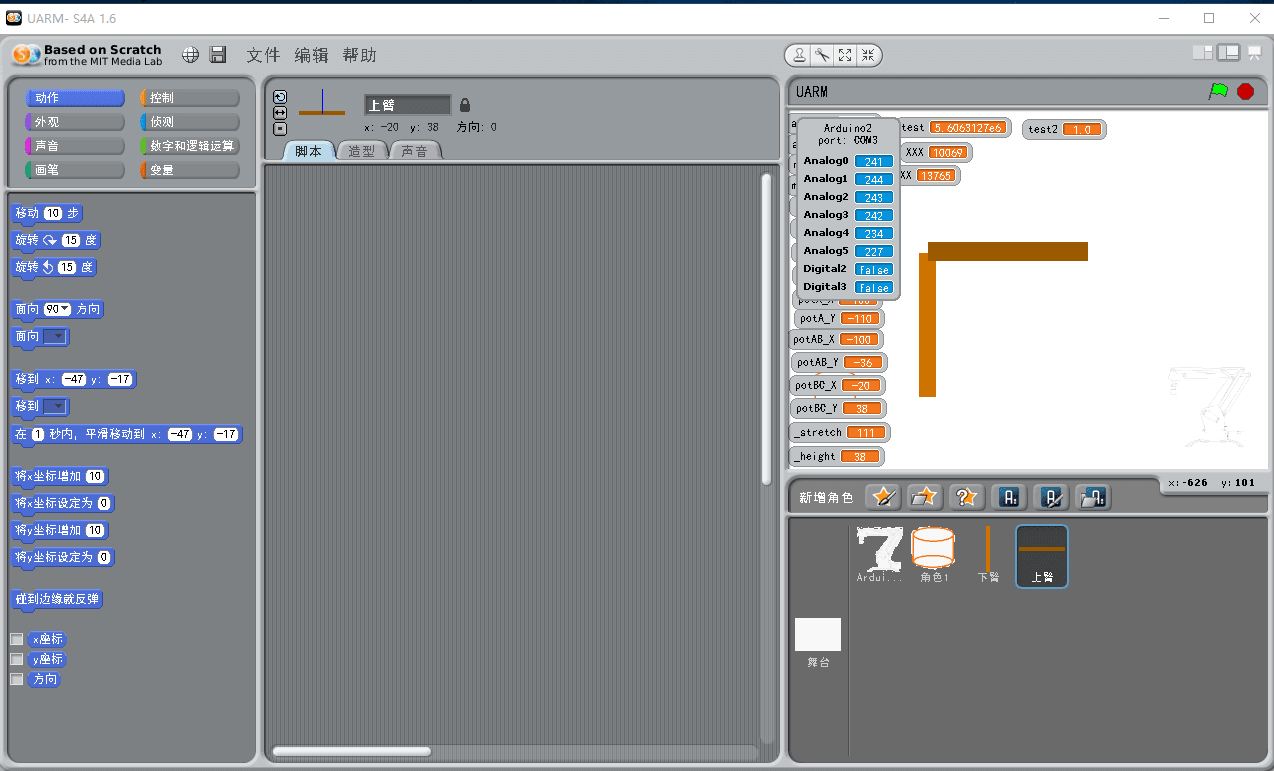
1.Open software S4A (File>Open), find our project named uArm scratch,the left window will automatically search for Arduino board.
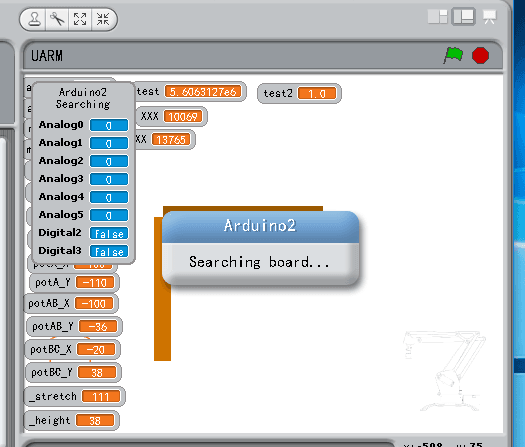
2.Use USB to connect uArm and PC. Wait for a moment to see the search signs disappear, which means the uArm is already connected.
3.Click on the green flag icon in the upper right corner so program starts running. Move your mouse on the white area of operating window and you can see the uArm can follow the mouse movement. Keyboard A and D is used to control uArm to the leftward and rightward, keyboard W and S control the absorption and release of air pump. (The absorption and release of air pump are relate to the order of two signal lines.)
4.If you want to use the gripper in place of air pump, you just need to connect the signal wires of gripper to the Digital IO 12 or 13 port on the Arduino uno, and use keyboard W and S to control the gripper.
So that is the whole tutorial for using Scratch to control uArm. Enjoy it.
Download links: